This post contains affiliate links. As an Amazon Associate, Next Level Mac earns from qualifying purchases.
Control Center in macOS Tahoe isn’t just prettier—it’s practical. With a few small tweaks, it can replace menu bar clutter and speed up daily tasks. This guide walks through a clean, lifestyle-friendly setup that fits busy days without turning macOS into a cockpit.
[]\eplace menu bar clutter and speed up daily tasks. This guide walks through a clean, lifestyle-friendly setup that fits busy days without turning macOS into a cockpit.
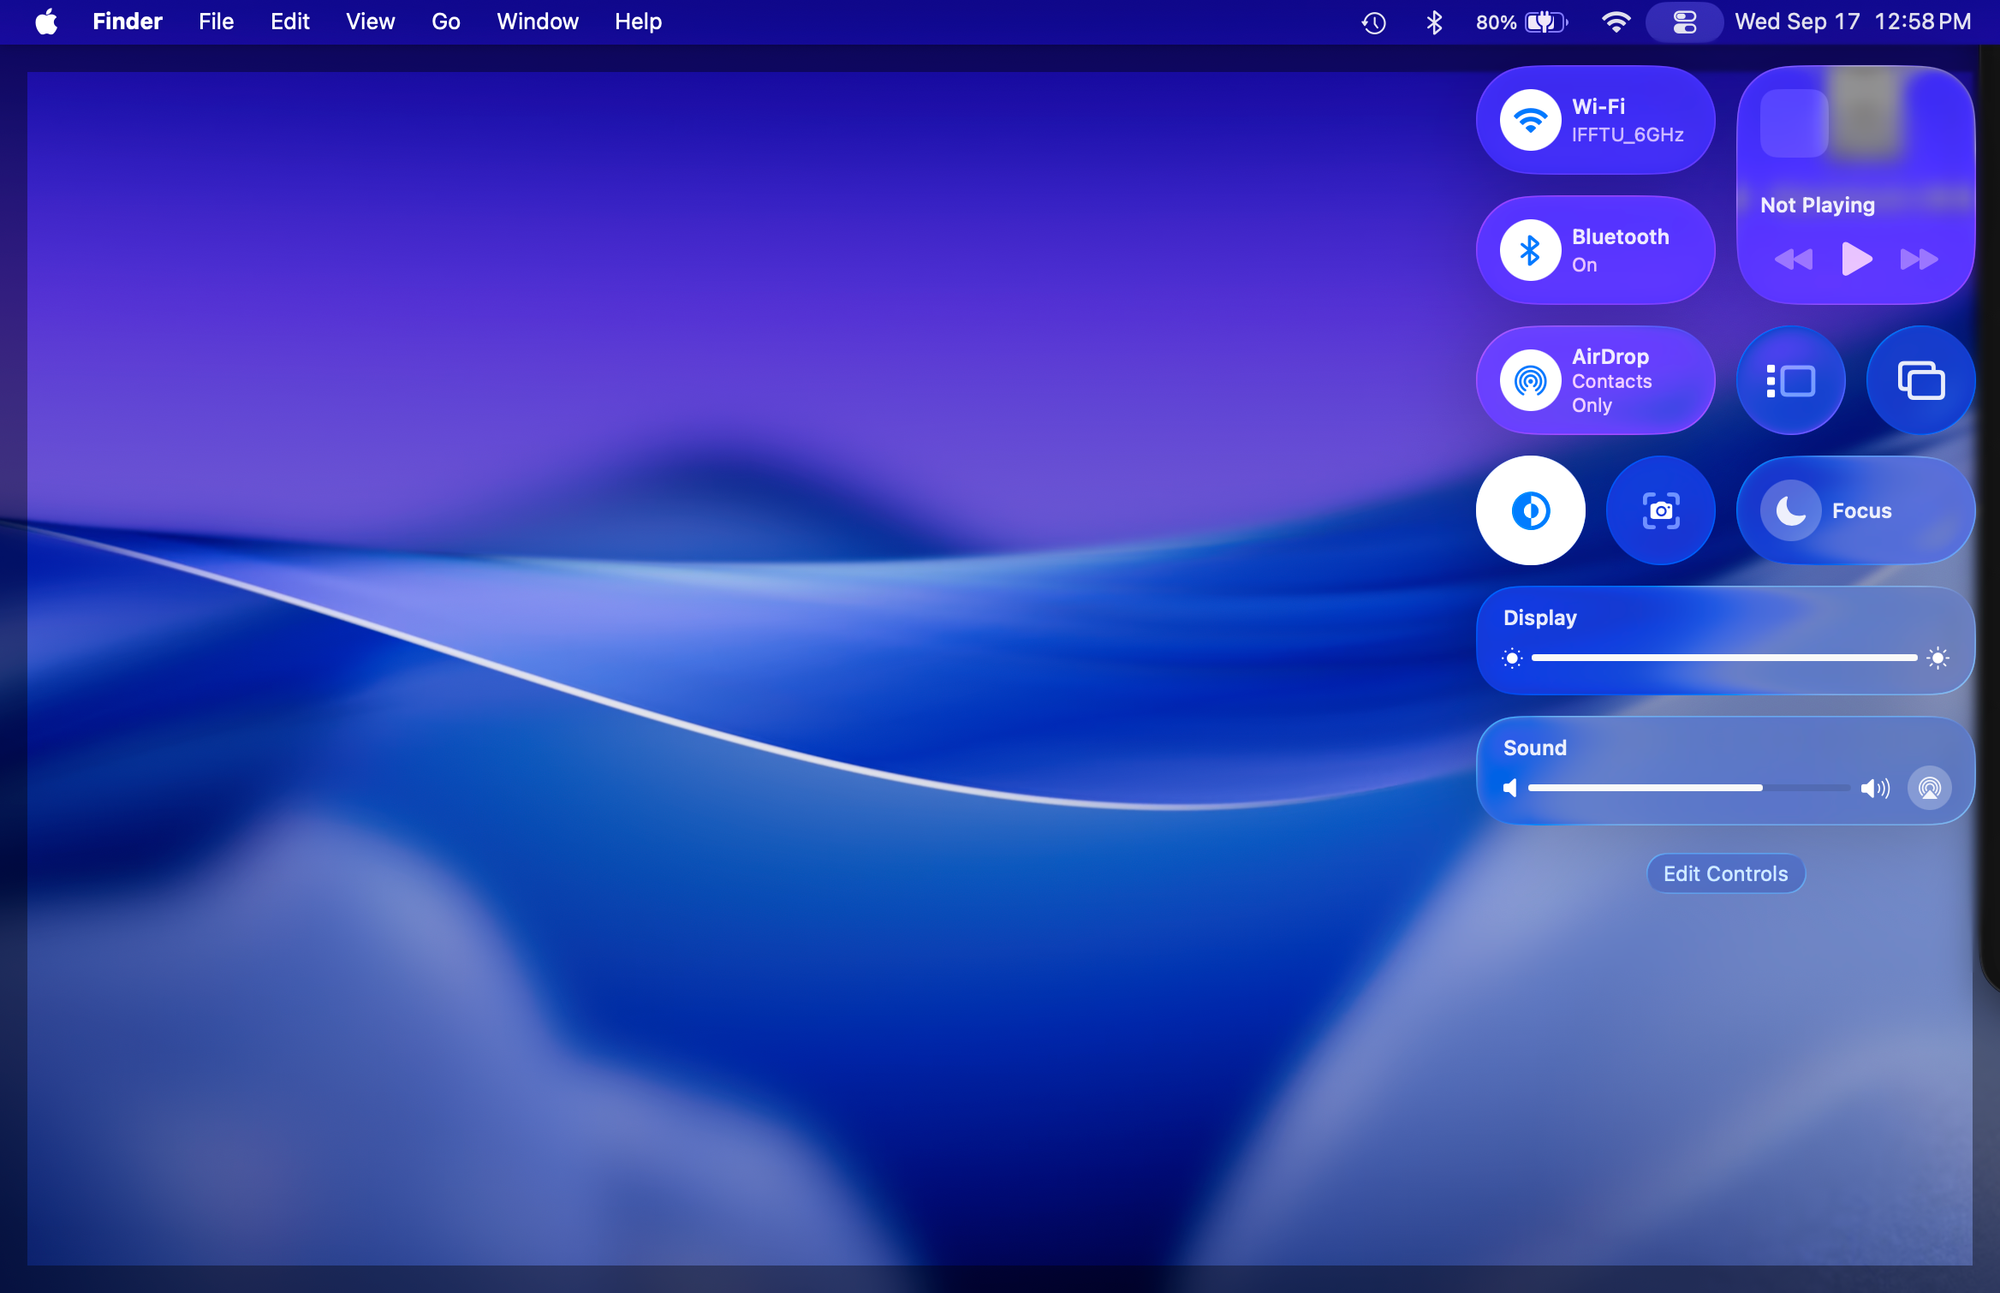
Think of Control Center as a home base. It holds quick controls for the things reached for constantly: Wi-Fi, Bluetooth, Focus, audio, screen brightness, and more. The trick is choosing the right tiles, arranging them well, and deciding what deserves a permanent spot in the menu bar.
Step 1: Pick the tiles that match daily life
Open System Settings → Control Center. Start by enabling only what matters every day. A tight, focused set makes Control Center fast to scan and quick to use.
Great everyday picks include Wi-Fi, Bluetooth, AirDrop, Focus, Now Playing, Display, Sound, Battery, and Timer. Skip anything rarely needed; it’s always available from Settings later.
Step 2: Promote true “one-click” essentials to the menu bar
Some toggles deserve always-visible status. In Tahoe, each Control Center item has a “Show in Menu Bar” option. Turning this on gives a single-click shortcut without opening Control Center first.
Popular candidates are Sound (for input/output switches), Battery (percentage at a glance), and Focus (quick context shifts). If the menu bar starts to feel crowded, demote the least essential item back into Control Center.
Step 3: Customize Focus for morning, work, and evening
Focus isn’t just for silencing alerts; it’s a scene for the day. Set up a simple trio: “Morning,” “Work,” and “Evening.” Each can allow different people and apps, adjust notifications, and even change wallpaper.
Pin Focus to the menu bar. Switching modes becomes a two-click habit—open Focus, choose the scene, done. The consistency carries across devices, which keeps interruptions predictable.
Step 4: Make Now Playing a real remote for the house
The Now Playing tile is more than a pause button. From Control Center, it can target different apps and speakers, which is perfect for quick soundtrack changes during chores or a workout.
Pair it with Bluetooth and AirPlay nearby in Control Center. That way volume, output, and playback control live in one place instead of across apps and windows.
Step 5: Turn Sound into a fast input/output switcher
For anyone on calls, Sound is a power tile. Click to switch microphones and speakers without opening an app’s settings. This saves time when moving between AirPods, a desk mic, or a monitor’s speakers.
Add Sound to the menu bar for one-click access. It’s a small upgrade that makes every call smoother and every music session easier to route.
Step 6: Use Display for quick comfort—and privacy
Display controls brightness and Night Shift, which can help eyes feel better during long evenings. It also includes options like Stage Manager and screen mirroring on many setups.
Keeping Display in Control Center offers a single stop for brightness, mirroring, and window layout changes. This reduces hopping through multiple menus during a busy day.
Step 7: Keep an eye on power with Battery
Battery shows percentage and charging status, which is handy on a laptop or when using a portable display. It also gives quick access to energy settings for more battery life during travel.
Show Battery in the menu bar for at-a-glance status. If the bar gets crowded, keep the icon there and move the percentage to Control Center.
Step 8: Add a real-world timer
The new Timer tile turns Control Center into a small productivity buddy. Use it for stretch breaks, focus sprints, or a reminder to pull something from the oven. Quick presets make it painless to start.
Place Timer in Control Center next to Focus. The pairing works well: set a 25-minute sprint, enable Work Focus, and jump in.
Step 9: Put AirDrop where it’s actually useful
AirDrop in Control Center lets file sharing switch between Contacts Only and Everyone for quick hand-offs. It’s ideal for tossing a photo from iPhone to Mac during a project or moving a screen recording to an iPad.
Keep AirDrop in Control Center rather than the menu bar. It’s close when needed and out of the way when not.
Step 10: Tidy Bluetooth and Wi-Fi with a two-tile rhythm
Bluetooth and Wi-Fi belong in Control Center for fast toggles and device picks. For Bluetooth, use the dropdown to connect to known accessories without opening System Settings. For Wi-Fi, join trusted networks in a couple of clicks.
If either is constantly toggled, promote it to the menu bar temporarily. Demote again once the routine stabilizes to preserve visual space.
Step 11: Use Accessibility and Hearing when they help most
Accessibility Shortcuts can put features like Zoom, Color Filters, or VoiceOver a click away. Hearing can show live headphone level and reduce loud sounds on the fly.
These tiles are fantastic when needed and invisible when not. Keep them in Control Center so they’re ready without crowding everything else.
Step 12: Balance Control Center and the menu bar
A great setup has rhythm: most tiles live in Control Center; a few anchors live in the menu bar. The balance keeps the bar readable while making deeper controls a short reach away.
As a rule of thumb, try three or four menu bar anchors—Battery, Sound, Focus, and Wi-Fi are common—and place everything else in Control Center. Adjust once a week until it feels right.
Real-life layouts to copy
Travel days. Menu bar: Battery, Wi-Fi, Sound. Control Center: AirDrop, Bluetooth, Focus, Timer, Display, Now Playing. This makes it easy to join hotel Wi-Fi, keep tabs on power, and switch audio quickly.
Work block. Menu bar: Focus, Sound, Battery. Control Center: Timer, Display, Bluetooth, AirDrop, Now Playing. The goal is friction-free calls, intentional interruptions, and quick lighting tweaks.
Movie night. Menu bar: Sound, Battery. Control Center: Display, Now Playing, Focus. Keep extras out of view and keep playback smooth.
A few tiny pro tips that still feel friendly
Click and drag an item out of Control Center into the menu bar to place it instantly where supported. It’s a satisfying shortcut that avoids digging through Settings.
Hold Option while clicking some menu bar items to reveal extra settings. This works for several system controls and can save a step or two when tuning behavior.
Right-click menu bar icons to configure behavior or jump straight into a settings pane. This helps keep the bar tidy without losing control.
When to add third-party menu bar apps
Control Center covers most daily needs. If something essential is missing—like clipboard history, calendar peek, or a quick note tool—consider one focused utility, not a dozen. The idea is to simplify, not layer complexity.
Add only what earns its place every day. If a tool sits unused for a week, remove it and let Control Center carry the load again.
Keep it fresh with a five-minute Friday reset
Once a week, open System Settings → Control Center and ask one question: what earned a permanent spot? Promote it. What didn’t? Demote it. This small habit keeps the setup lean and matched to real life.
Control Center in macOS Tahoe can quietly reshape how the Mac feels. With a handful of thoughtful choices, everyday tasks sit a click away, the menu bar stays clean, and the whole system feels lighter to live with. Set it once, revisit occasionally, and let the Mac get out of the way while the day moves forward.

Related Posts
Finder Quick Actions in macOS Tahoe Automate File Tasks Instantly
Jan 12, 2026
Master Pixelmator Pro: The Ultimate Mac Photo Editor Guide
Dec 10, 2025
Keka: The Best Mac File Compressor
Dec 10, 2025